Some repairs, whether it is repairing a failed weldment or repairing a crack in a casting, may easily be done by simply grinding out the crack and applying more weld. Other repairs, however; are more complicated. Or at least they should be.
Just last week a customer contacted us asking for help in developing a repair welding procedure for a damaged (cracked) truck frame. The customer expected us to send them a welding procedure specification (WPS) calling out the type of wire, welding variables such as wire feed speed and volts, and any preheat or post weld heat treatment necessary. When our proposal indicated we were allotting 40 hours to this project the customer was shocked and thought that 2 hours to develop a procedure would be enough.
We see this all too often. There is no understanding of the implications of some repairs. If you are repairing a cracked A36 steel automotive rack you may be okay regardless of what your welding procedure looks like. However, when dealing with a high strength steel frame that is loaded cyclically in service, we need to be a lot more careful. Below are 9 steps that must be followed when developing a repair welding procedure. Do not take short cuts!
- Evaluate the failed component – It is essential that you understand the root cause or at least potential causes for the failure. If you do not know what caused the problem you may not have all the information necessary to develop an adequate repair procedure. For instance, if a welded connection failed due to a bad connection design, no welding procedure would be able to remedy it. You would need to address the design. For basic guidelines on how to conduct an adequate failure analysis read Importance of Weld Failure Analysis.

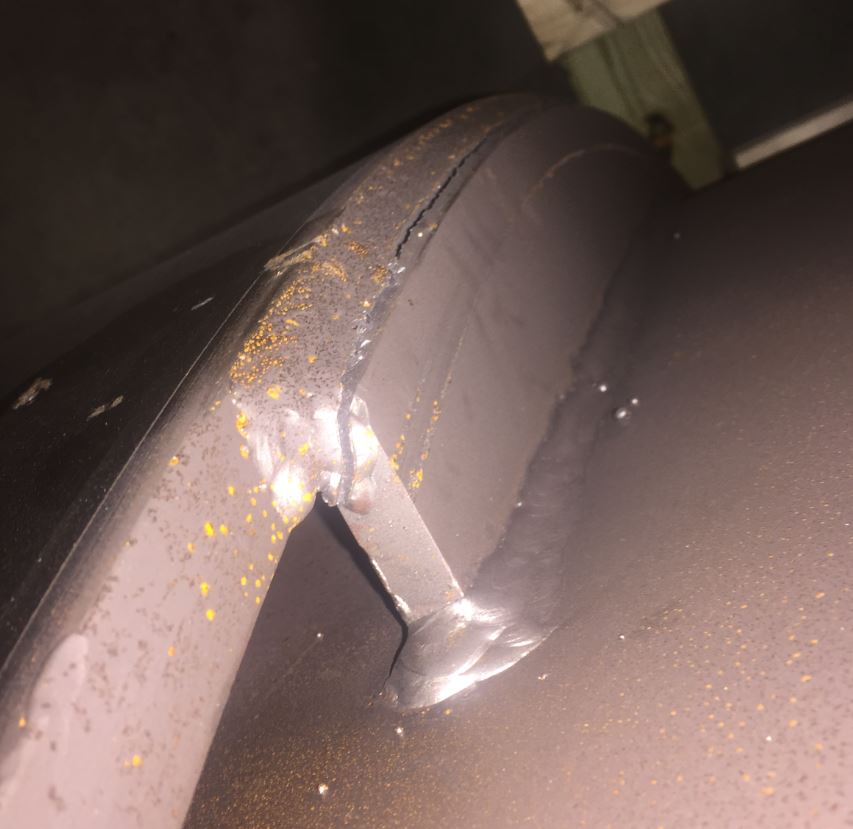
Cracks and other types of failure must be evaluated and the root caused discovered before developing a repair procedure.
- Determine suitability for welding – You must know what base material you are dealing with. Is it low carbon steel? Is it high strength steel? Is it quenched and tempered (Q&T) steel? Is cast iron? Is it stainless? If you don’t know what the base material is you probably shouldn’t weld it. Some steels have poor weldability, meaning they can crack easily. Knowing the base material will help you determine the filler metal required, whether preheat and post weld heat treatment (PWHT) are necessary, and whether you should even weld it or consider bolting it or fastening it with a non-fusion process.
- Understand the service conditions and weldment requirements – If you are repairing a failed connection you must know the type and magnitude of the stress in order to properly size your weld. If dealing with a cracked frame as is the case with the customer mentioned above, we are required to match the frame’s properties including: hardness, ductility, yield strength and ultimate tensile strength. If you are repairing a Q&T steel you will be significantly changing these properties with the heating and cooling cycles of the welding process and PWHT may be necessary.
- Follow the prescribed code or standard – Find out if the structure you are repairing is governed by a specific welding code or customer supplied standard. Most codes will have instructions on how to properly carry out repairs. Some even limit the number of repairs that can be perform and indicate who is responsible for authorizing these repairs.
- Develop a repair welding procedure – Now that you have all the details regarding the failure mechanism, understand the service requirements and know which code or standard to follow, you can craft your welding procedure. Your welding procedure shall include joint details including joint preparation, welding process, filler metal, preheat and interpass temperature, amperage, voltage, etc. Make sure you cover all the essential variables.

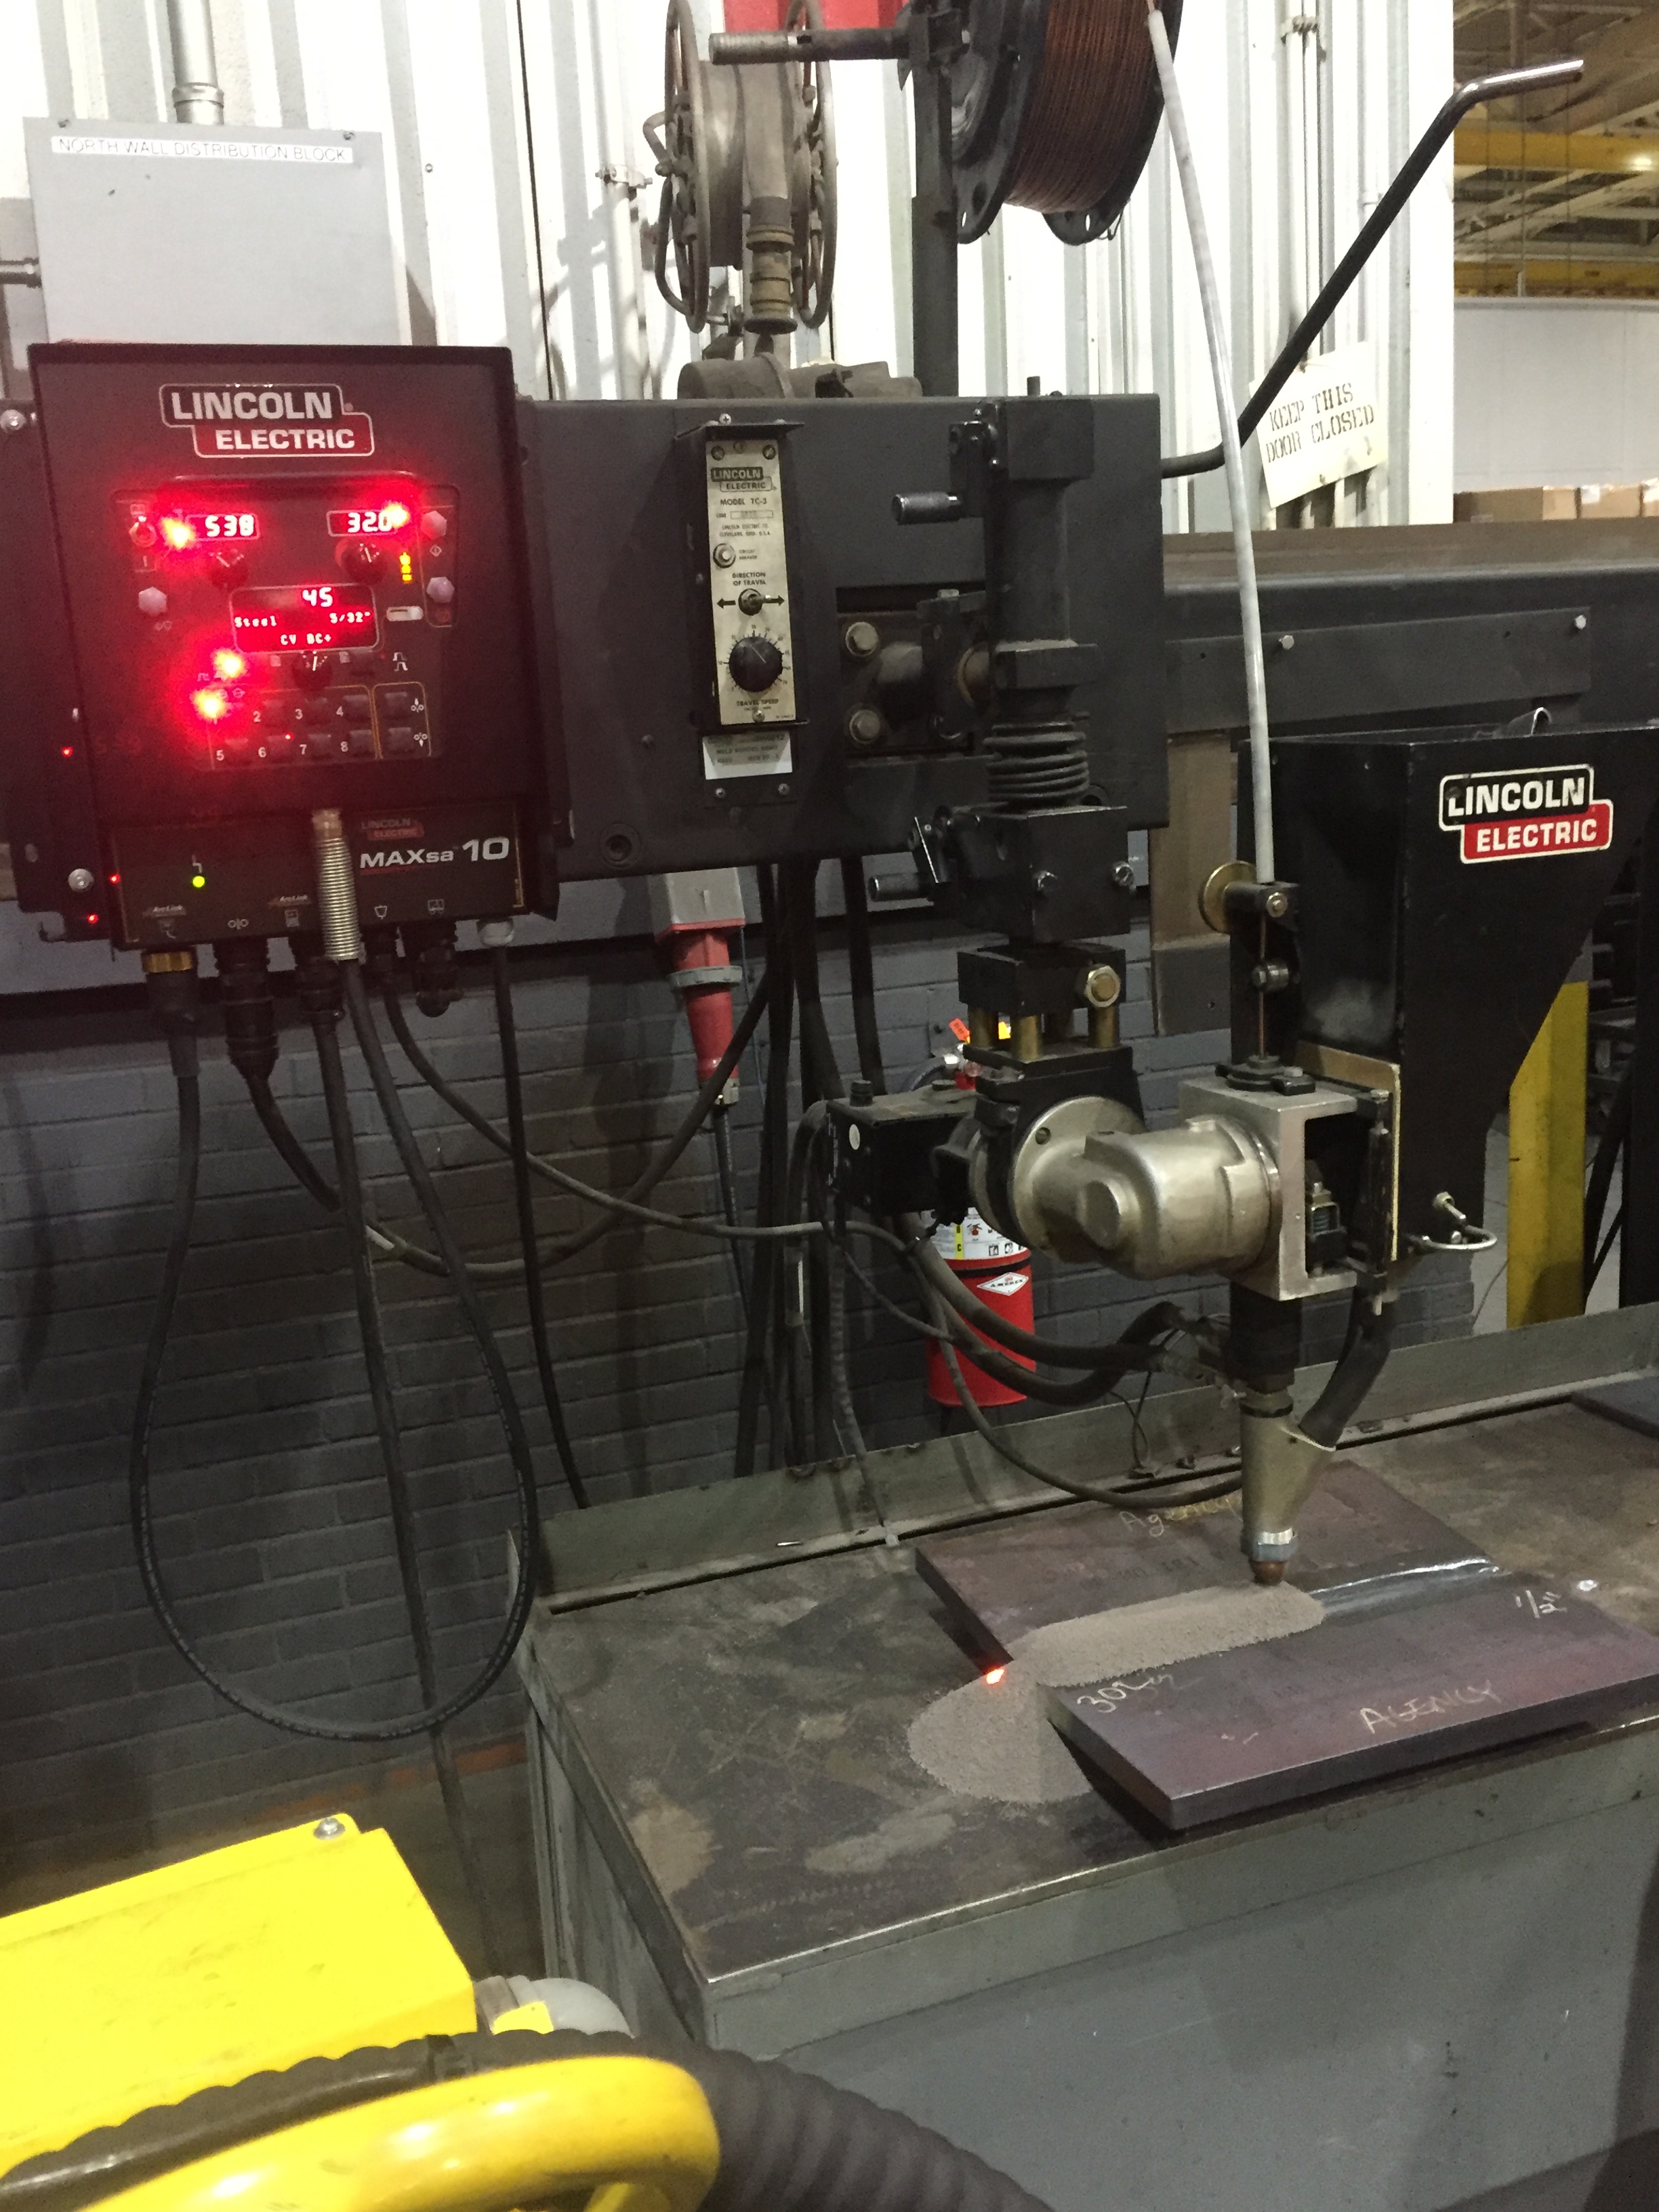
Welding procedures, whether automatic or manual, must be qualified by testing or at the very least be prequalified per certain structural codes
- Qualify your repair welding procedure specification – Again, depending on the code or standard you are following you may be required to qualify your procedure by testing. In some cases you may use a prequalified welding procedure. Using prequalified welding procedures has its advantages, but you must be careful not to abuse their use. In our case of the broken frame there is no allowance for the use of prequalified welding procedure so it must be qualified by testing. This testing involves visual inspection, 4 side bends and 2 reduced section tension tests. These tests will provide assurance that our developed welding procedure will produce a weldment that meets the requirements.
- Develop an inspection procedure – Using a qualified welding procedure provides reasonable assurance that we will produce a sound weld. However, unless we are using automation the human element introduces a variable and the opportunity for error. An adequate inspection procedure must be put in place to inspect the repair. This can be as simple as visual inspection. Making sure the weld is the right size, that there are no cracks, no surface porosity and no undercut. Or it can also involve other types of non-destructive testing such as ultrasonic or radiographic inspection.
- Document everything – Once you have gone through the above steps you will have a lot of documents. These documents must be kept for record purposes. Material test records for the base material, the WPS, the PQR and the inspection procedure. This is a lot of work, make sure it is documented for traceability, in the event of an audit and for future use.
- Qualify and/or train your welders – If a repair welding procedure is outside of what your welders are qualified to do, whether that means welding on a different material group, different welding process, different welding position, different electrode diameter, etc. you must qualify the welder to make sure he or she can deposit sound welds. Keep in mind that most codes will qualify the welder that welds the PQR test plates if they pass the test and the procedure becomes qualified.
Follow the above steps and you will end up with a repaired structure that meets in-service demands. Take short cuts and be willing to suffer the consequences. This may seem like a lot of work, and it is. But if your application is demand critical you better not take any shortcuts.
Reference:
Weld Troubleshooting for Non Welding Engineers goes beyond your typical troubleshooting charts on the back of an owner’s manual. The goal is not just to help you solve a welding problem, but to teach the concepts and theory behind it. Understanding why a recommended solution worked is just as important as solving the problem.
“Qualifying Welding Procedures, Welders and Welding Operators” is a guide developed to help you perform your own qualifications in full compliance to AWS D1.1 Structural Welding Code.


I have a qualified WPS/PQR, if repair needed, do I need to prepare another repair WPS/PQR ?
OR I just use the original WPS ?
Does AWS D1.1 mentioned that repair WPS/PQR are needed ?
A new Welding Procedure is needed only if the parameters to be used are outside of what was specified in the original WPS. AWS D1.1 Table 4.5 PQR Essential Variable Changes Requiring WPS Requalification spells out when a WPS needs to be requalified.
I would welcome guidelines on how to prepare a WPQ/WPS
Thanks
Hello Jonas. Are you in need to follow a specific welding code for your WPS and PQR? Or are you just looking for general information?