The qualification of welding procedures is necessary to ensure that the selected welding parameters can produce sound welds. Qualification typically involves a combination of destructive and nondestructive testing. When a particular code, such as AWS D1.1 or ASME Section IX is used, the code will dictate the type and numbers of tests necessary in order to qualify the welding procedure.
If you are not required to follow specific codes or standards, it is advisable that you do some kind of testing if you are developing a new procedure. Many fabricators have a way of doing this that fits their quality requirements, but a large number simply forgo any kind of testing.
Here is a list of 7 different types of tests that you can use to test your welding procedures. This is not an exhaustive list, but a good place to start. Also, you don’t have to do all seven. Simply follow the requirements of the code that governs your work.
Learn about different types of welding discontinuities: 10 Types of Welding Discontinuities Explained
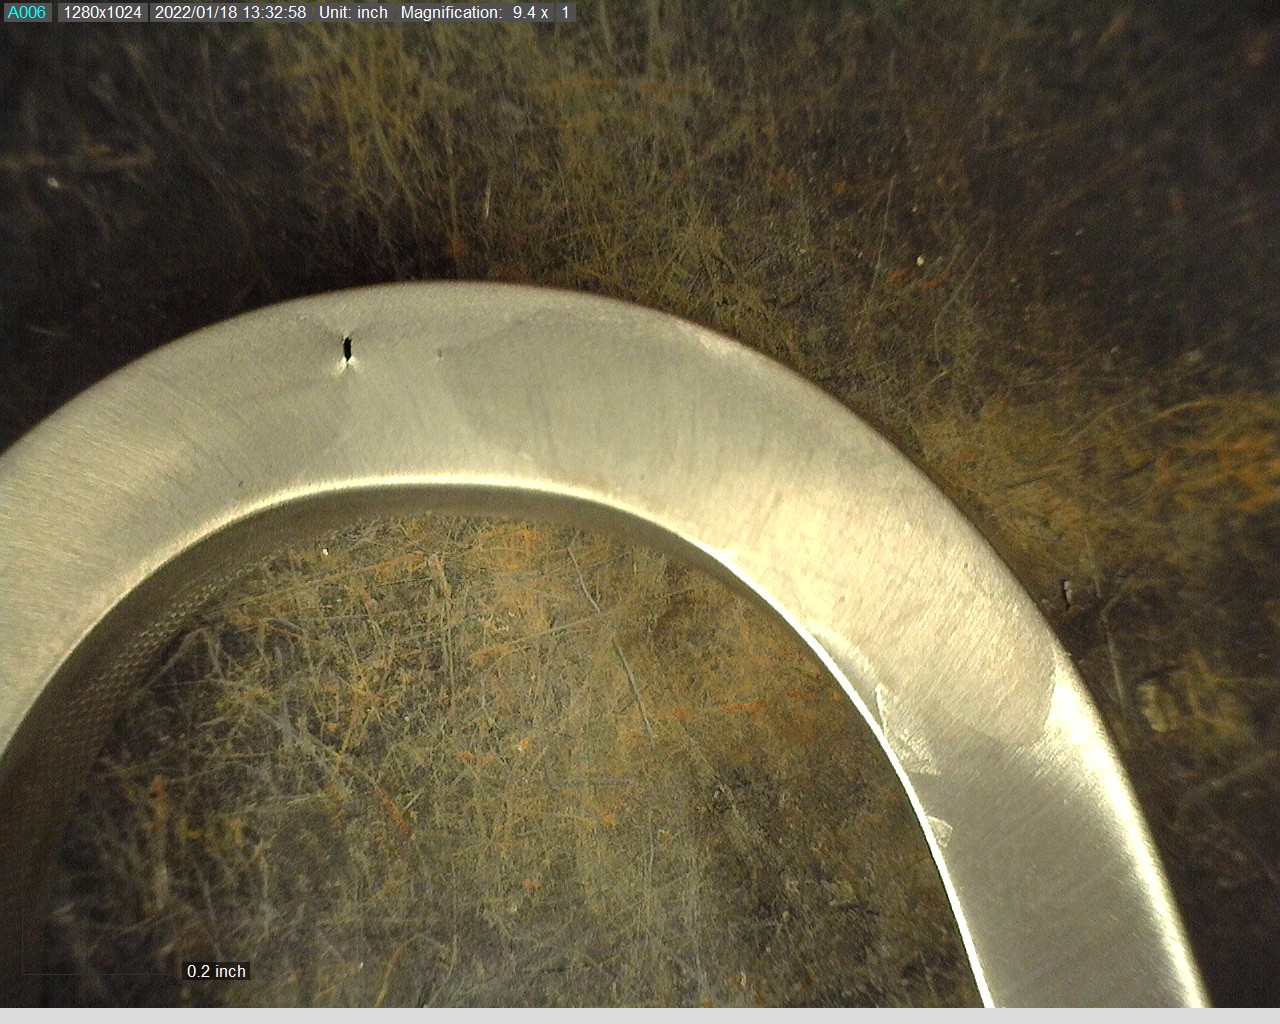
- Visual Testing (VT) – this type of inspection can only detect surface discontinuities. Before any destructive testing is performed, we must first ensure that the weld passes all visual inspection criteria. This criteria will include allowances (or no allowances) for porosity, undercut, overlap, cracks, reinforcement, weld size, weld length, and other surface discontinuities. Certain discontinuities, such as porosity don’t pose much of a risk and are allowed to some extent. Others, like cracks, are not allowed in any amount or length.
- Ultrasonic Testing (UT) – the use of ultrasound constitutes volumetric testing, meaning it allows us to inspect the entire volume and not just a specific spot or just the surface of the weld. It can detect discontinuities such as lack of fusion, cracks, incomplete penetration, slag inclusions and other subsurface discontinuities.
- Radiographic Testing (RT) – commonly referred to as X-ray, this is another type of volumetric inspection. Films are developed, similar to getting an x-ray at the doctor’s office, which display discontinuities due to the change in density.

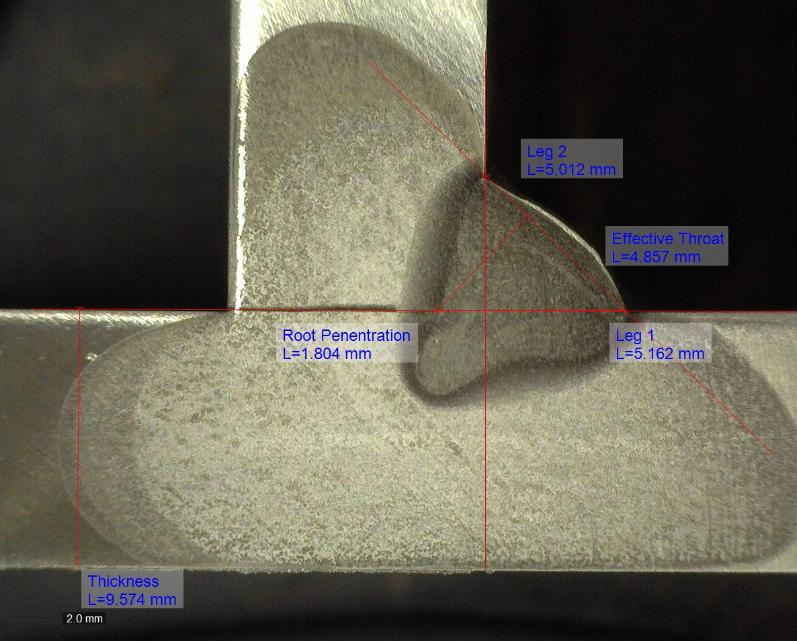
X-ray of an aluminum groove weld showing porosity throughout the weld. - Macroetch – Once a weld test passes visual inspection and any other required nondestructive examination, it undergoes destructive tests. Macroetches are cross sections of welds that have been polished and etched with an acid. Macroetches allow us to see how deep we penetrated into the base metal and the root of the joint. It allows us to detect lack of fusion and other internal discontinuities such as slag inclusions and porosity.

A simple macroetch can provide valuable information as to the reliability of a welding procedure. - Fillet Break Test – macroetches are great, but they only show us a specific point in the weld. A break test is performed on fillet welds and it allows us to see if there was fusion to the root of the joint not only on a single spot, but along a specific length, usually 6 to 8 inches.
- Bend Test – these tests are performed when the weld tests involve a butt joint (groove weld). There are three types of bend tests: face, root and side. Depending on the thickness of the material you may be required to perform root and face bends or side bends. If there is lack of fusion, slag inclusions or any other discontinuity it will be revealed.

Bend tests will expose discontinuities associated with lack of fusion and slag inclusions. - Tension Test – this type of test provides information about the strength of the deposited weld metal. Values for yield strength, ultimate tensile strength and elongation are derived from this test. A test specimen is machined out of the weld and pulled apart by a tensile tester.
There are many other tests that can be used to qualify welding procedures such as hardness and toughness testing.
Fabricators also have the option of developing their own testing methods and acceptance criteria. This is done when the requirements imposed by codes and standards are too stringent for the application.
For example, if you are welding drip pans you are only concerned with the seams not leaking. There are no strength requirements, so issues such as lack of fusion, excessive reinforcement and undersized welds are not a concern as long as the weld provides a water tight seal.
Whether you follow a code or not, you should always verify that your welding procedures are capable of producing sound welds. Alternatively, you can choose to use prequalified welding procedures. We will be discussing prequalified welding procedures next week’s article.
References:
Welding Procedure Development for Non-Welding Engineers
Qualification of Welding Procedures, Welders and Welding Operators


