

Weld distortion is one of the most common—and most accepted—problems in fabrication.
In many shops, distortion is treated as an unavoidable consequence of welding. When parts move, warp, or pull out of tolerance, the response is often to straighten them later, add more fixturing, or “build it heavy and pull it back.”
While these approaches may keep production moving, they hide a deeper issue: distortion is not random, and it is not solely a welder problem.
Like porosity and cracking, weld distortion is the result of specific conditions. When those conditions are understood, distortion can be reduced significantly without slowing production.
This article is part of the Practical Weld Troubleshooting in Production series, which focuses on diagnosing and correcting weld problems using systematic, repeatable methods rather than trial and error.
Why Weld Distortion Is Often Misdiagnosed
Distortion is frequently blamed on heat input alone.
When parts move, the instinctive reaction is to:
- Reduce amperage
- Increase travel speed
- Switch processes
- Add restraint
Or worse, go buy a welding power source with pulse capabilities to reduce heat input (although pulse helps you should never go buy a new machine without understanding the problem and its root cause).
While heat input matters, focusing on it exclusively oversimplifies the problem. Distortion is not just about how much heat is applied—it is about how that heat is distributed and constrained.
When distortion is treated as a single-variable issue, corrective actions tend to shift the problem rather than solve it.
Distortion Is the Result of Uneven Expansion and Contraction
At its core, weld distortion occurs because metal expands when heated and contracts as it cools.
Problems arise when:
- Expansion is localized
- Contraction is restrained
- Cooling occurs unevenly
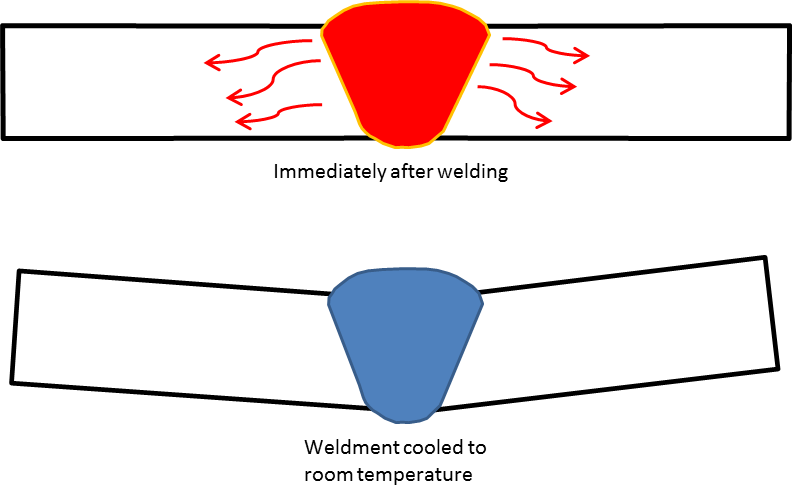
The weld is not the only thing that can pull the part out of shape—the surrounding material does as well, as it reacts to the thermal cycle imposed by welding. However, the weld, the heat affected zone (HAZ) and unaffected zone all expand and contract at different rates.
Understanding this interaction is the foundation of effective distortion control.
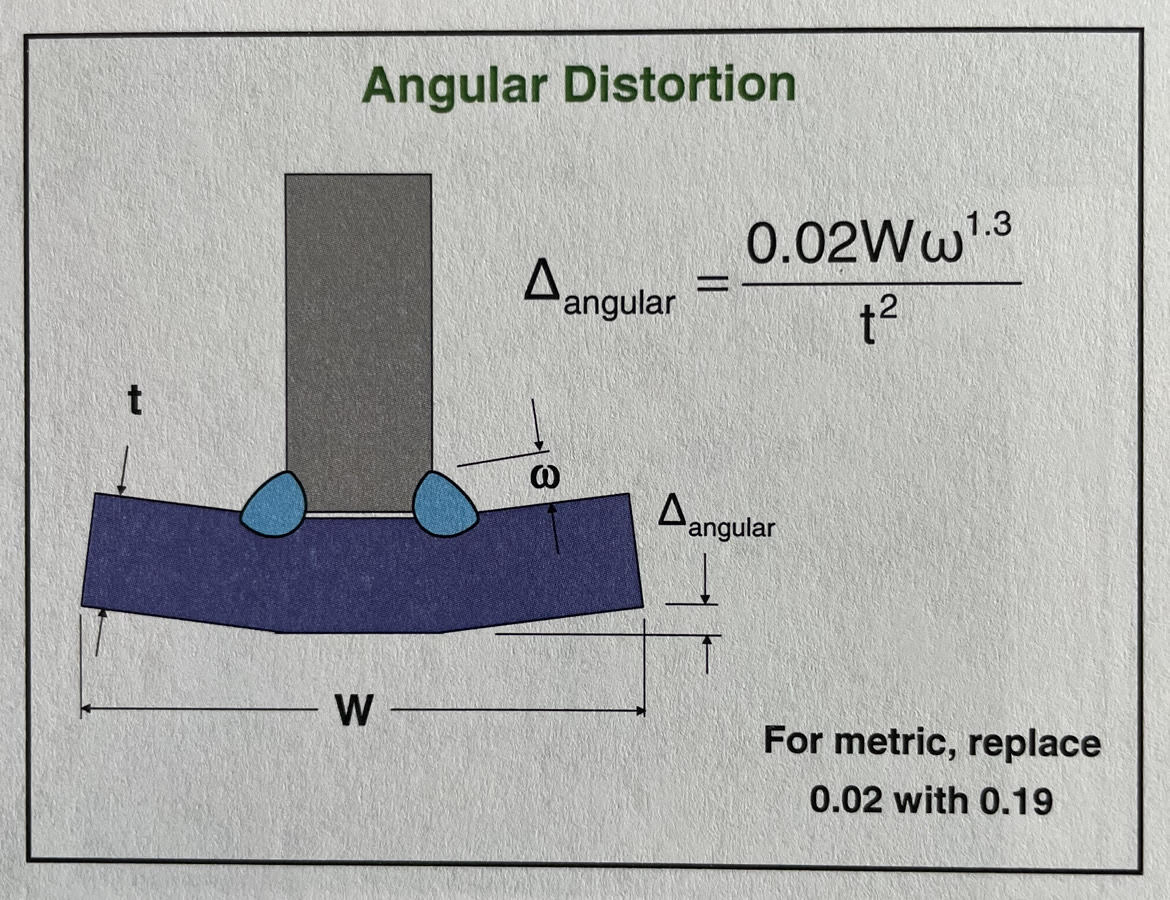
Step 1: Identify the Type and Direction of Distortion
Before attempting to correct distortion, it is critical to identify how the part is moving.
Common distortion modes include:
- Angular distortion
- Longitudinal shrinkage
- Transverse shrinkage
- Buckling or bowing
The direction and magnitude of movement provide clues about where heat input and restraint are concentrated.
Corrective actions that do not address the dominant distortion mode are rarely effective.
Step 2: Evaluate Joint Design and Weld Volume
Weld volume has a direct relationship to distortion.
Excessive weld metal (overwelding) increases:
- Heat input
- Shrinkage forces
- Residual stress
Joint designs that require large fillet welds or multiple passes often introduce more distortion than necessary.
Reducing weld volume—while still meeting design requirements—is one of the most effective ways to control distortion without reducing productivity.
Step 3: Review Weld Sequence and Direction
Weld sequence is one of the most powerful—and least expensive—distortion control tools available.
Poor sequencing can concentrate shrinkage forces in one direction, pulling parts out of tolerance. Thoughtful sequencing distributes those forces more evenly.
Key considerations include:
- Welding from the center outward
- Alternating sides where possible
- Avoiding long, uninterrupted welds
- Balancing heat input across the assembly
Sequence changes often reduce distortion without changing parameters, equipment, or cycle time. Although identifying the correct sequence is an engineering function, it can still require a lot of trial and error. However, understanding the distortion mechanism will allow you to solve the issue in a fewer number of iterations.
Step 4: Assess Restraint and Fixturing
Restraint can both help and hurt distortion control.
While fixturing can prevent movement during welding, excessive restraint:
- Increases residual stress
- Transfers distortion to other areas
- Can contribute to cracking or spring-back
Effective restraint controls movement without fully preventing it, allowing the weldment to relieve stress gradually.
Over-fixturing often shifts distortion downstream rather than eliminating it.
Step 5: Consider Heat Input as a Distribution Problem
Heat input still matters—but it must be evaluated correctly.
Instead of asking:
“How do we reduce heat input?”
A more productive question is:
“How do we distribute heat more evenly?”
Controlled heat input, consistent travel speed, and stable arc behavior reduce localized thermal gradients, which are a primary driver of distortion. The use of preheat can be, in many cases, the absolute best way to reduce or eliminate distortion.
It is also very important to understand the relationship between heat input and weld size as well as understanding how to calculate heat input. A common, but faulty way to reduce heat input is to lower the amperage. Reducing amperage reduces the energy into the weld which in theory reduces heat input. The problem is that travel speed also impacts heat input. So reducing amperage also requires a reduction in travel speed. Reducing amperage may have a negligible effect on heat input.

All welding procedures, whether they are prequalified welding procedures or welding procedures qualified by testing should specify the required preheat and interpass temperature. Although the primary purspose of preheat for structural steels is to prevent hydrogen induced cracking (cold cracking) it can also be specified to reduce distortion. In some cases, where preheat is used to control distortion it may be necessary to exceed the minium preheat required by the code. In such cases, be sure that the preheat is not so high that it negatively impacts the mechanical properties of the weldment and heat affected zone.
Step 6: Avoid “Fixing” Distortion After the Fact
Straightening operations are expensive.
They add:
- Labor
- Risk of damage
- Schedule delays
- Variability
When distortion is corrected after welding, the root cause remains unaddressed. The same problem appears on the next job, or the next revision. Many fabrication shops believe distortion cannot be eliminated or even reduced. So they build in the rework of bringing parts back to within tolerance as part of the manufacturing process. This is extremely costly.
Systematic troubleshooting aims to prevent distortion, not manage it later.
Why Distortion Control Does Not Have to Reduce Throughput
One of the most common concerns with distortion control is that it will slow production.
In practice, the opposite is often true.
Reducing distortion:
When distortion is controlled at the source, overall throughput improves—even if individual welds are made more deliberately. This process can slow down the operations before welding, but will significantly reduce the time spent fixing the problem after welding.
Practical Takeaways
- Distortion is caused by uneven thermal expansion and restraint
- Heat input alone does not explain distortion
- Joint design and weld volume matter
- Weld sequencing is a powerful control tool
- Preventing distortion is more efficient than correcting it
Series Context
This article is part of the Practical Weld Troubleshooting in Production series.
You can find the full series here:
Practical Weld Troubleshooting in Production – Series Hub
Additional Resources
Distortion control is addressed throughout Weld Troubleshooting for Non Welding Engineers, where it is treated as part of a broader system involving heat input, restraint, joint design, and production constraints.
The guide provides a structured framework for diagnosing distortion and applying corrective actions that improve consistency without sacrificing productivity.
Need help troubleshooting weld and welding equipment related problems?
For more information CLICK HERE or the image below.
- Learn and follow the process used by welding engineers to find the root cause of welding problems and their solutions.
- This troubleshooting guide goes beyond your typical troubleshooting charts on the back of an owner’s manual. The goal is not just to help you solve a welding problem, but to teach the concepts and theory behind it. Understanding why a recommended solution worked is just as important as solving the problem.
- This guide addresses the most common weld discontinuities as well as the most common welding equipment problems.
- Use this publication as a training tool for welders, supervisors, inspectors, quality personnel and even seasoned welding engineers.
